
When preparing for an overland journey, buying the right vehicle is only half the job done. To survive a great traverse between several countries in Africa, knowing how to drive a 4×4 vehicle may be just as important.
I remember buying our ’91 Land Rover Defender (named Maggie) in 2009 and spending a good half a day running through a huge checklist with the previous owners. High on my list was practising off-roading, using the differential lock, and low range gears.
At the time, all of this was a blur, and if I am completely honest, I was nervous to ever engage Maggie in locking the differential . When I did my first overland journey from London to South Africa in 2010, I learnt how to drive Maggie off road by experimenting. I learnt how to deal with recovery situations the hard way: by making mistakes and learning from them.
But if I could do it all over again, I definitely would have enrolled in a 4×4 training course to be sure I had the skills to make it there and back safely.
Why do a 4×4 training course?
There are many 4×4 skills needed when overlanding a continent like Africa, where road conditions can sometimes get really difficult. Some skills, like recovery, might only be needed a handful of times – or not at all if you’re lucky!
But to be confident in your ability to avoid or recover from difficult situations, with minimal risk of injury or damage to the vehicle, the right level of training is important.
Luckily for us, on our current overland journey from Botswana to Ethiopia, we found a course at the 4×4 Training Academy in Port Elizabeth, South Africa. For R1,200 (approx US$81) per person, we participated in a day-long basic to intermediate 4×4 training.

Marilu, Brent our instructor and Noel (Maggie in the background)
How to choose a 4×4 training course
There are thousands of 4×4 training courses to choose from around the world. It’s definitely advisable to find an operator with solid reviews and recommendations. However, finding the best one will depend on what you want to get out of the experience.
For us, the most important aspect we looked for in a training course was whether the instructor could teach us how to use our own vehicle, not just any 4×4. What we liked about our experience with the 4×4 training academy was that our instructor Brent knew and understood Land Rovers, and focused on giving clients practical skills to use in their own vehicles.
What do you learn during 4×4 training?
If your training course is like ours, the first few hours will be spent in front of a screen, learning the basics of 4×4 operation. Topics included:
- The purpose and operation of the differential lock (when to use high and low range gears);
- Types of suspension systems and the impact on a vehicle’s ability to clear obstacles;
- The importance of traction and momentum in clearing common obstacles and road conditions; and
- The basics of a tyre and what the codes written on the tyre actually translate to
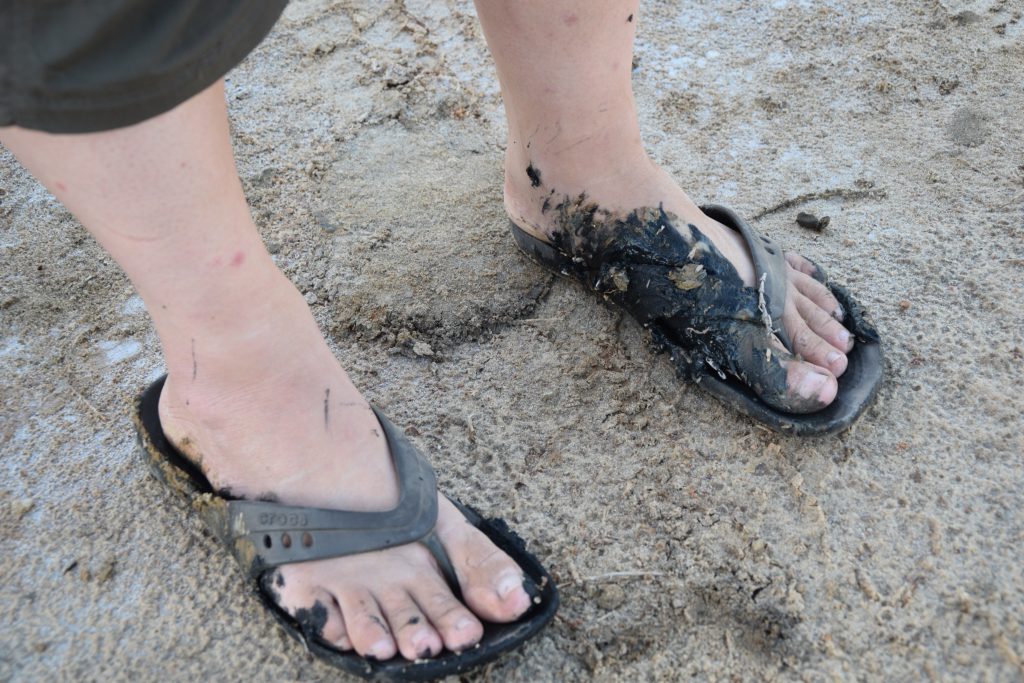
After a couple of hours of classroom instruction, we were ready to do something practical and get our hands dirty. And boy, oh boy, did we get dirty!
Getting dirty on our 4×4 training day
4×4 Lesson #1: Using a Hi-lift Jack
The first thing we were shown was how to use our Hi-Lift Jack to change a tyre on our Land Rover. Until this moment, our Hi-Lift Jack was little more than decoration on our Land Rover, to improve our rugged image. And we were both too worried that without knowing how to use the Hi-Lift Jack, we might kill ourselves – it’s a dangerous tool and could do you some serious damage if used incorrectly!
After a good dose of WD-40, our Hi-Lift Jack was working like magic and we learnt the proper way to use her to lift our Landy. Here is our summary of practical tips and lessons learnt:
- Practise using your Hi-Lift Jack before a real-life recovery situation – again, this is a dangerous tool that can cause injury!
- If you don’t know how to use a Hi-Lift Jack, it may be better to use another easy and safe option, such as an Air Jack.
- Make sure that the Hi-Lift Jack is well oiled and free from rust – if not, use WD-40 for lubrication.
- Insert the Hi-Lift Jack into the jacking points, which should be welded firmly to the vehicle chassis.
- When jacking the Hi-Lift up or down, avoid placing your head between the arm and the shaft – if the arm snaps back while jacking, it could cause injury to the head!
Practical 4×4 Lesson #2 – The importance of deflating tyres when driving off road
 Tyre Compressor
Our first team exercise was lowering Maggie’s tyres by 50% less air.
Why were we asked to do this? Well, we learnt that the less air pressure you have in your tyres, the more the surface of the tyre you have to the ground to grab the rock or dirt that you’re trying to ascend/descend. It makes a lot of sense when explained that way, we did learn a few lessons because of this;
2.1 Ensure that you have a Tyre pressure gauge with you to be able to know what the pressure is of your tyres
2.2 Have a Tyre compressor that allows you to inflate your tyres after you have deflated them for driving off road
2.3 Know what your tyre pressure is for driving tarred roads, ours is 2.2 Bar and this will help you quickly reduce/inflate to a pressure suitable for your condition
Practical 4×4 Lesson #3 – Understanding how to drive off road in low range Diff locked
We learnt on the day that both the vehicles axles are permanently driven from the vehicles transfer gearbox, which is bolted on to the rear of the main gearbox.
With this system, you only have two levers; The normal gear lever which is used for changing gear as you would in any other car and a smaller gear lever that controls the locking differential (see image below).


